Piecing together a memory quilt can be a fun and rewarding experience that allows you to create a one-of-a-kind keepsake. Here are some tips for piecing together your memory quilt:
- Arrange the squares: Arrange the squares in the desired pattern or layout, and make sure the colors and patterns are distributed evenly throughout the quilt.
- Sew the squares together: Use a sewing machine or hand-sew the squares together, using a ¼-inch seam allowance. Press the seams flat to reduce bulk. Pressing seams open or to the side is a personal preference. If I am working on a pattern where a lot of points come together, then I press them open, otherwise I press to the dark side.
- Add sashing (optional): If you want to add sashing between the squares, cut strips of fabric the same width as the squares and sew them to the sides of each square before sewing the squares together. You can even get fancy and add cornerstone squares.
- Add borders (optional): Once the quilt top is complete, add borders to the edges of the quilt to frame the design and create a finished look.
Remember, piecing together a memory quilt is a personal process, and the design should reflect your individual style and preferences. Take your time and enjoy the process, and you will end up with a beautiful and meaningful keepsake that you can cherish for years to come.
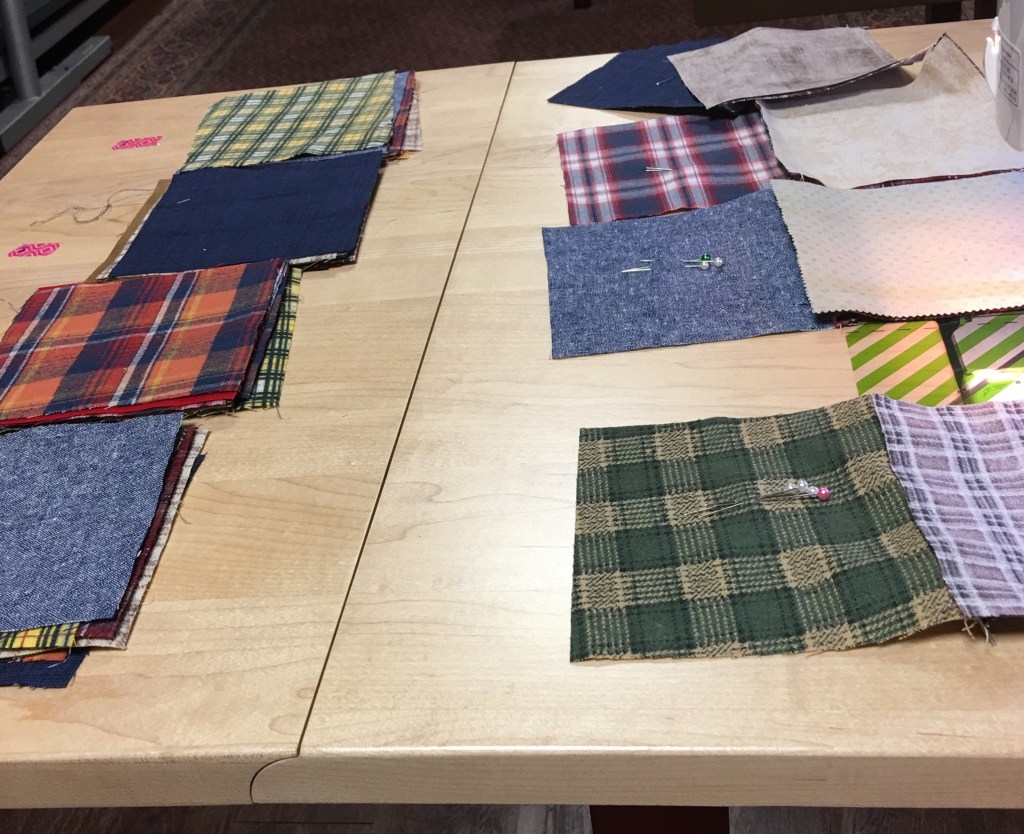
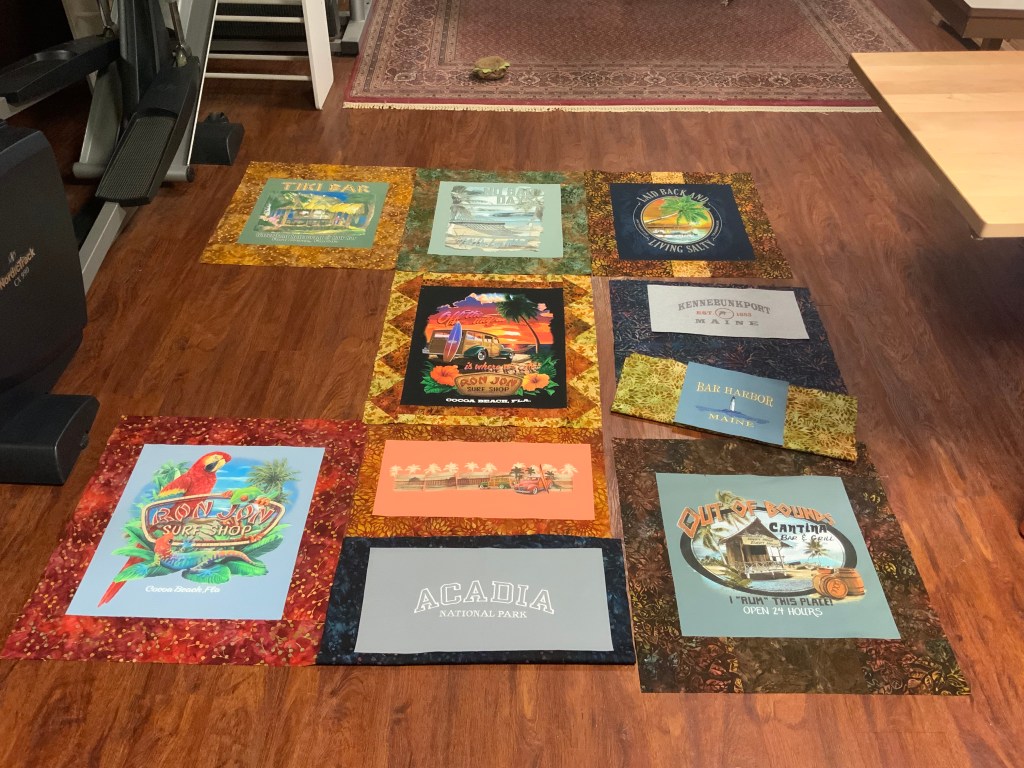
Below are pictures of some of my memory quilts in progress!