I have just spent nearly 8 hours testing interfacing and stabilizer for quilt labels. To be honest, I spent nearly two hours before that just trying to find what I need on Youtube and blogs. There was a lot of great advice and I think sometimes the results come down to your machine and the design. I thought it may be helpful to share my tests and results for others who may be researching this topic. And if you don’t want to make your own labels, please visit my Etsy Shop to see what is available! I truly enjoy making quilt labels that match your quilt and your personality! Let’s create something together! Now, on to the tutorial.
Here are the constants in each of the tests and this way you won’t find me repeating myself.
- My machine is a Babylock Pathfinder (love it!) and a 6″ x 6″ hoop
- Kona Cotton for the labels (I used white and snow (very light beige))
- Glide embroidery thread (40wt) in various colors
- The embroidery design I used is available at Embroidery Library
- When I refer to “fusible mesh stabilizer” I am using Brothread from Amazon
- When I refer to “P44F interfacing”I am using Pellon brand P44F from Amazon and you can also find it at your local Joann Fabrics or Walmart. Watch for coupons! And get it half price at Joann Fabrics!
- I also used Tear Away and this is one that I used quite frequently and have had good luck with easy tearing!
Ok! So here we go with the embroidered quilt label experiment! I will not be going into how to fuse interfacing or stabilizer, but ask questions if needed!
Experiment #1
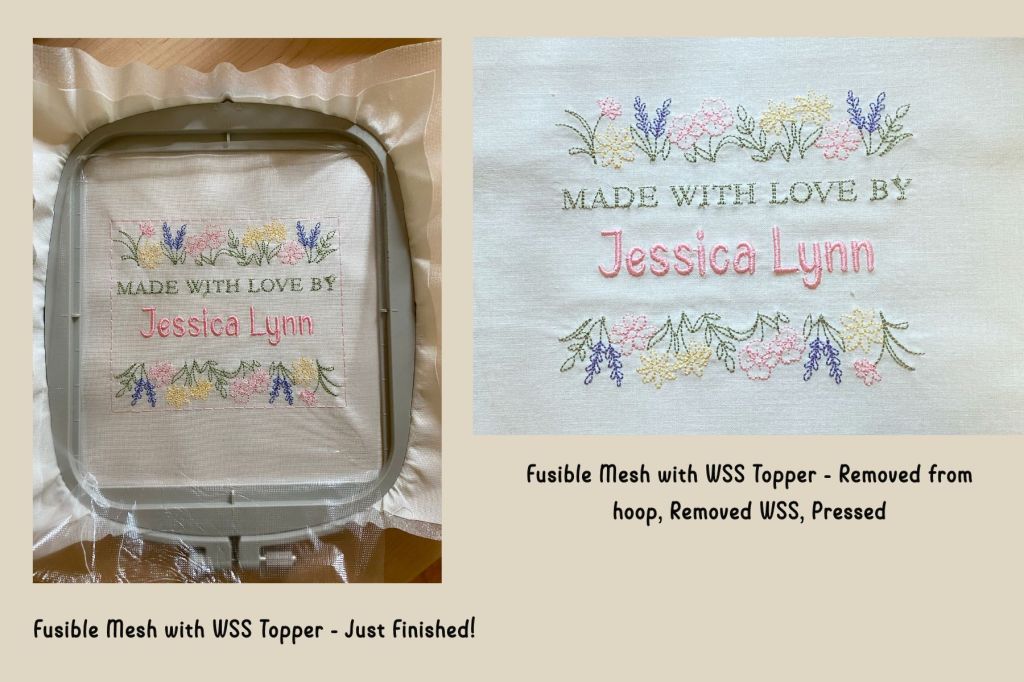
For this run, I used fusible mesh stabilizer with a water soluble stabilizer (WSS) on top. Everything stitched out great and I was super excited! I thought for sure this was the combination for me. As you can see in the pics below, it looked great just off the machine. then I had to spray it with water to remove the WSS and wait for it to dry. Then I had to press it because when it dried it was wrinkly and just did not look presentable. I like it, but was not totally impressed with the amount of time it took for all the steps and I didn’t think it looked its best.
Experiment #2
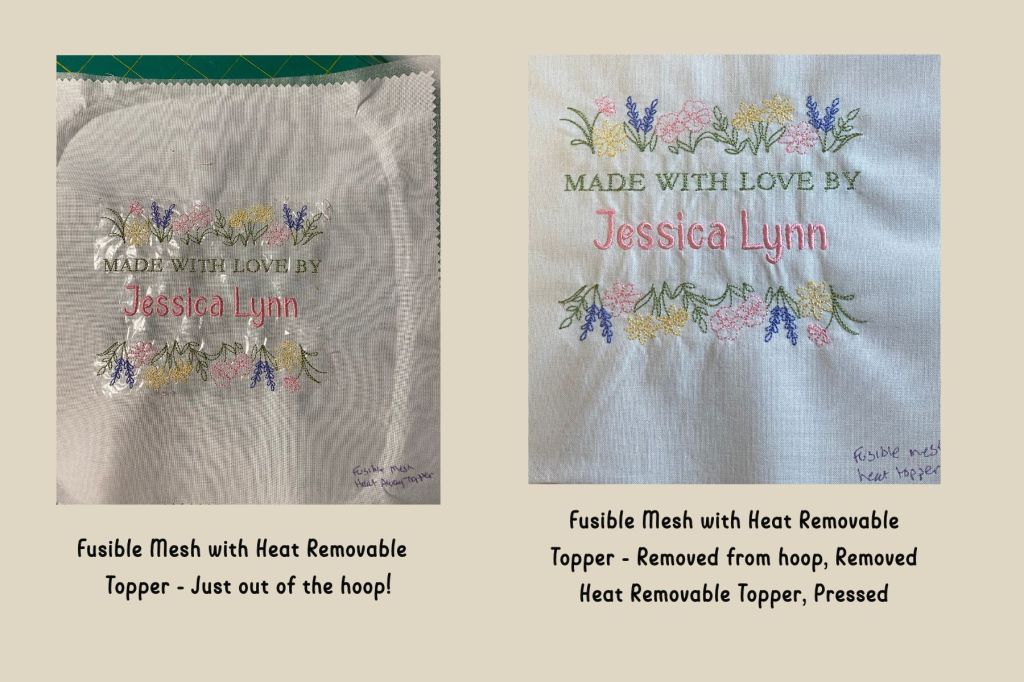
The second experiment was with fusible mesh and a heat removable topping. Again, everything stitched out great, but removal of the heat removable topping was not as easy as it sounds (could have been me) and again, it required pressing once all the removal was complete. Again, I am not sure if I did something wrong with this topper, but I was not pleased with the final results at all. I will try the topper on towels and see if it behaves differently, but won’t try it for quilt labels again.
Experiment #3
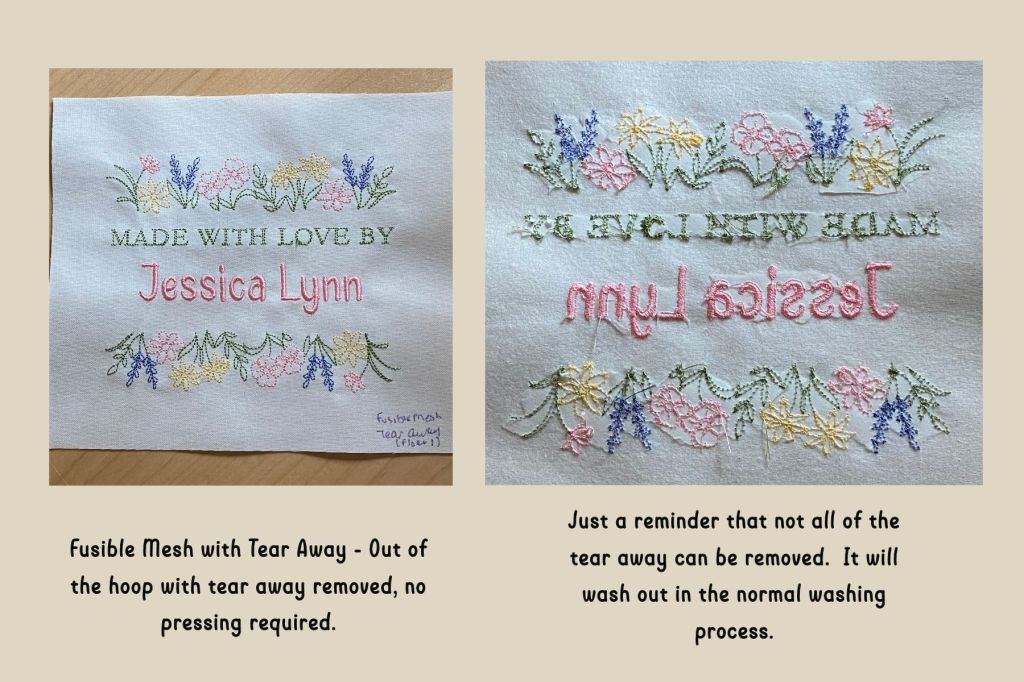
For the next experiment I used the fusible mesh and floated one layer of tear away stabilizer underneath. There was no puckering during stitching and the tear away was easy to remove. It should be noted though that some of the tear away remains in the label and will wash out during the normal washing process. I do remove the majority. This quilt label looked great right off the machine and after removing the tear away!
Experiment #4
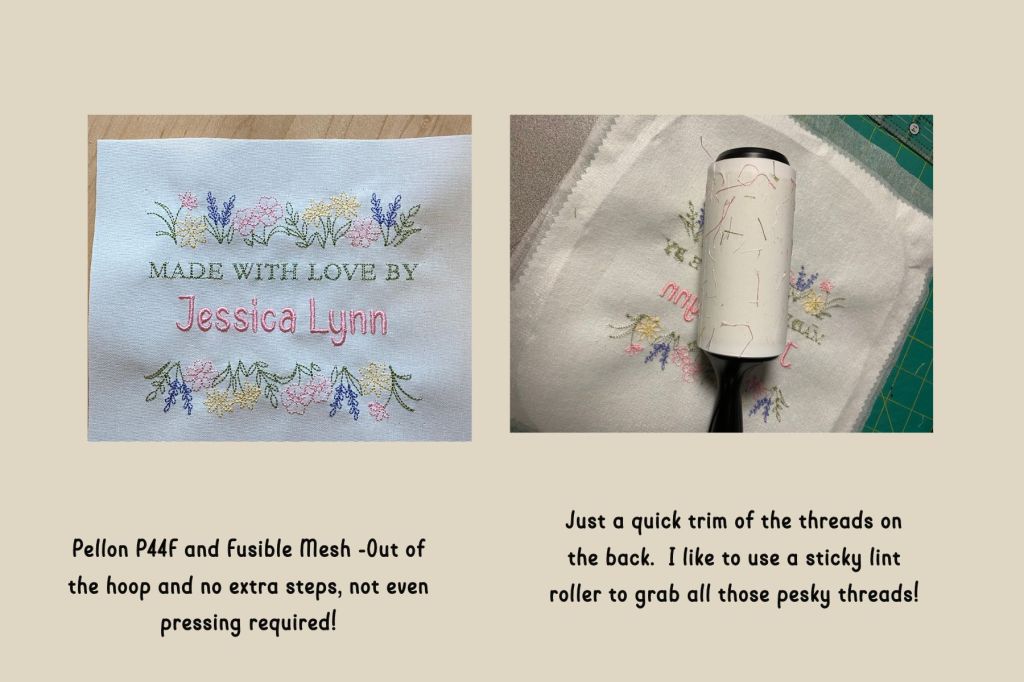
For the final experiment I used a lightweight fusible interfacing (Pellon P44F), which I applied first. Then I applied the fusible mesh and off to stitch! No puckering while stitching so I was very hopeful! I was even more hopeful when I took it out of the hoop. I can be lazy so extra steps, even removing tear away can be annoying. This quilt label looked great right off the hoop and with no additional steps!
The results of experiments 3 and 4 have me hooked. I could go with either method and be very happy! Of course…4 may win because there are zero extra steps! What are your thoughts? Have you been experimenting as well? Do you have any favorites? Are there tips or tricks you would like to share?
I really do hope that you find this helpful! Happy Stitching!
This site contains product affiliate links. I may receive a commission if you make a purchase after clicking on one of these links.